

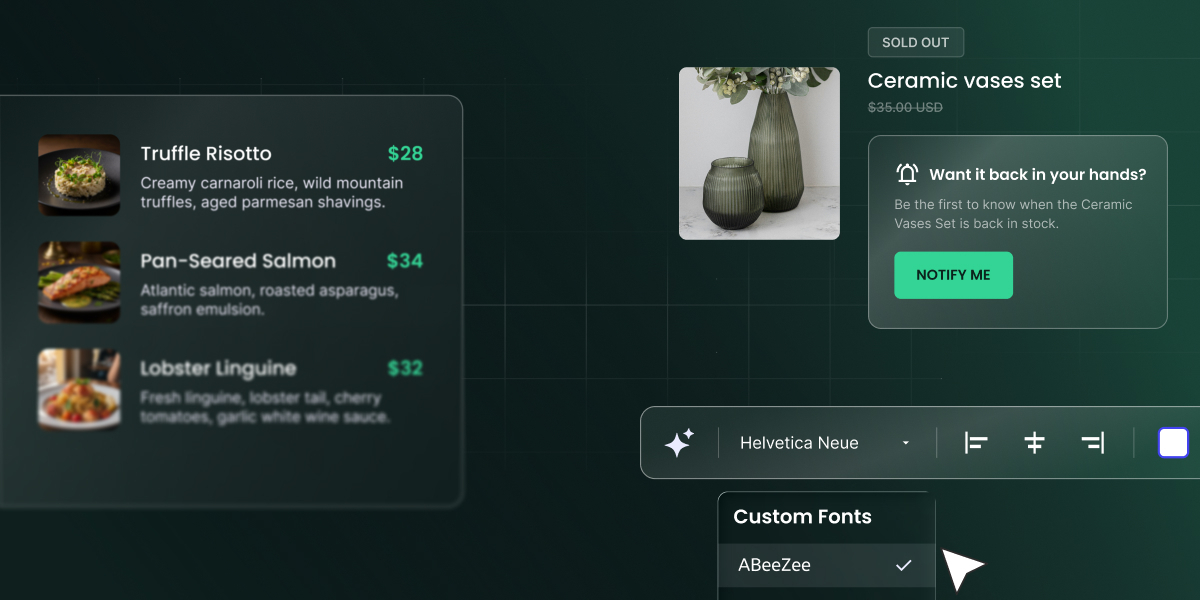
Two updates just went live in SiteGround Ecommerce. Back-in-stock notifications now turn a sold-out product page into a waiting list, so the shoppers who wanted the item hear from you the moment it’s back. Meanwhile, product add-ons let shoppers choose extras in the same step as the purchase, so each order is worth more without a separate upsell step.
Back-in-stock notifications
What are back-in-stock notifications?
Back-in-stock notifications let shoppers leave their email on a sold-out product page and receive an automatic email when the item is restocked. In SiteGround Ecommerce, they work for whole products and for individual variations, such as a specific size or color.
How back-in-stock notifications work
Shoppers can sign up from any sold-out product page. On products with variations, the button follows the shopper’s choice: pick a size or color that’s out of stock, and Add to Cart switches to Notify Me for that exact variation.
Logged-in shoppers sign up straight away. Guests, on the other hand, confirm their email address first, so every notification goes to a real address that asked for it.
When the item is restocked, the email goes out automatically. If several items a shopper is waiting for come back within the same hour, they get one email instead of several.
Back-in-stock notifications make the biggest difference in stores where stock runs out unevenly: clothing and shoes where the popular sizes go first, small-batch goods like candles or ceramics, and limited drops that sell out on launch day.
Know what to reorder first
Every Notify Me sign-up is also a vote for what to restock. SiteGround Ecommerce counts them in a new Restock Priority metric in your store analytics under Analytics → Products, so you can see which sold-out item has the most shoppers waiting and know what to reorder first.
When cash for inventory is tight, that’s the difference between reordering what you think will sell and reordering what people have already asked for.
Product add-ons
What are product add-ons?
Product add-ons are extras a shopper chooses on the product page and pays for together with the product, like gift wrapping, engraving or insurance. They’re part of the order rather than a separate listing, and they work with physical and service products.
How product add-ons work
You create each add-on in the Add-Ons section on a product’s edit page, or from the Add-ons menu in the left sidebar, then decide how it behaves:
- Required or optional. Make it part of every order for that product, or leave it as a choice.
- Free or paid. Charge for engraving, include gift wrapping at no cost, or the other way round.
- Display. Choose how the options appear: colors, buttons, images, checkboxes, or an input field.
- Quantity. Let shoppers pick more than one option, or set how many they want.
- Templates. Save any add-on as a template and attach it to other products without setting it up again.
After the sale, orders that include add-ons get a badge on the order page, so you can easily spot the ones that need extra work, like engraving or wrapping. If an add-on uses physical stock, such as gift boxes, you can track its stock too and see when it’s running low.
One thing to know: an add-on is refunded together with the product it belongs to, not on its own.
Add-on ideas for your store
The best add-ons are things shoppers already ask for after they’ve ordered, or would happily buy if they saw them at the right moment. A few places to start:
| Store | Add-on | How to set it up |
| Jewelry | Engraving | Optional, paid |
| Gifts and homeware | Gift wrapping | Optional, free or paid |
| Electronics | Insurance | Optional, paid |
| Toys | Batteries | Optional, paid, with a quantity |
| Bakery | Birthday candles | Optional, paid, with a quantity |
Which plans include these updates
Both features are live now and included in the 14-day free trial, so you can test them before you pick a plan.
| Feature | Plans | Free trial |
| Back-in-stock notifications | Sell, Grow, Scale | Yes |
| Product add-ons | Grow, Scale | Yes |
How to get started
- Log in to your Client Area and open your Ecommerce site’s Site Admin.
- To turn on back-in-stock notifications, go to Settings → System Emails and switch on Back-in-Stock Notifications.
- To create an add-on, open a product and scroll to the Add-Ons section, then click Add New. Six templates come ready to use, or you can create your own.
- Once shoppers start signing up for notifications, check Restock Priority under Analytics → Products before your next reorder.
The next time your best seller sells out, you’ll know exactly how many people are waiting for it, and they’ll hear from you the moment it’s back.
New to SiteGround, or don’t have an Ecommerce site yet? Try SiteGround Ecommerce free for 14 days, with both features included in the trial.
[103]
Frequently asked questions
A back-in-stock notification lets a shopper leave their email on a sold-out product page and get an automatic email when the item is restocked.
Yes. When a shopper picks a variation that’s out of stock, Add to Cart switches to Notify Me for that variation.
No. Logged-in shoppers sign up straight away, and guests confirm their email address first.
Every sign-up counts toward the Restock Priority metric in your store analytics, which shows which items have the most shoppers waiting.
Extras like gift wrapping, engraving or insurance that shoppers choose on the product page and pay for together with the product.
Yes. Save it as a template and add it to other products without setting it up again.
No. An add-on is refunded together with the product it belongs to.
Product add-ons are available on Grow and Scale, for physical products and services. Back-in-stock notifications are available on Sell, Grow and Scale. You can set both up during the free trial, though notifications only reach shoppers once your site is live.